TABLE OF CONTENTS
- 1. Introduction
- 2. General Requirements and Limitations
- 3. General Printer Setup Flow in the App
- 4. Bluetooth printer setup
- 5. Wi-Fi printer setup
- 6. Result check
- 7. Frequently Asked Questions (FAQ)
- 8. Conclusion
1. Introduction
In this guide, we describe the process of setting up receipt printers in the DelivApp Business App.
(click to download the iOS app, click to download the Android app)
The guide covers two supported connection methods:
Bluetooth printers;
Wi-Fi printers.
You will be able to choose the appropriate option and properly set up receipt printing for different kitchen production lines, delivery receipts, as well as gift receipts.
2. General Requirements and Limitations
Before starting the setup, make sure that:
The DelivApp Business app is installed;
You have access to the Settings section;
The printer is powered on and working properly.
Important limitations
Bluetooth: only one printer can be connected to one mobile device;
Wi‑Fi: multiple printers can be connected at the same time;
The printer and the device with DelivApp Business must be:
for Bluetooth — within Bluetooth range;
for Wi-Fi — connected to the same Wi-Fi network.
RECOMMENDATION: to ensure stable operation, it is recommended to use a single printer connection type (Bluetooth or Wi-Fi) within one configuration.
3. General Printer Setup Flow in the App
Next, a unified algorithm for adding a printer in the DelivApp Business app is described.
At one of the steps, you choose the connection type: Bluetooth/USB or Wi-Fi (by IP address).
Step 1. Opening Settings
Open the DelivApp Business app.
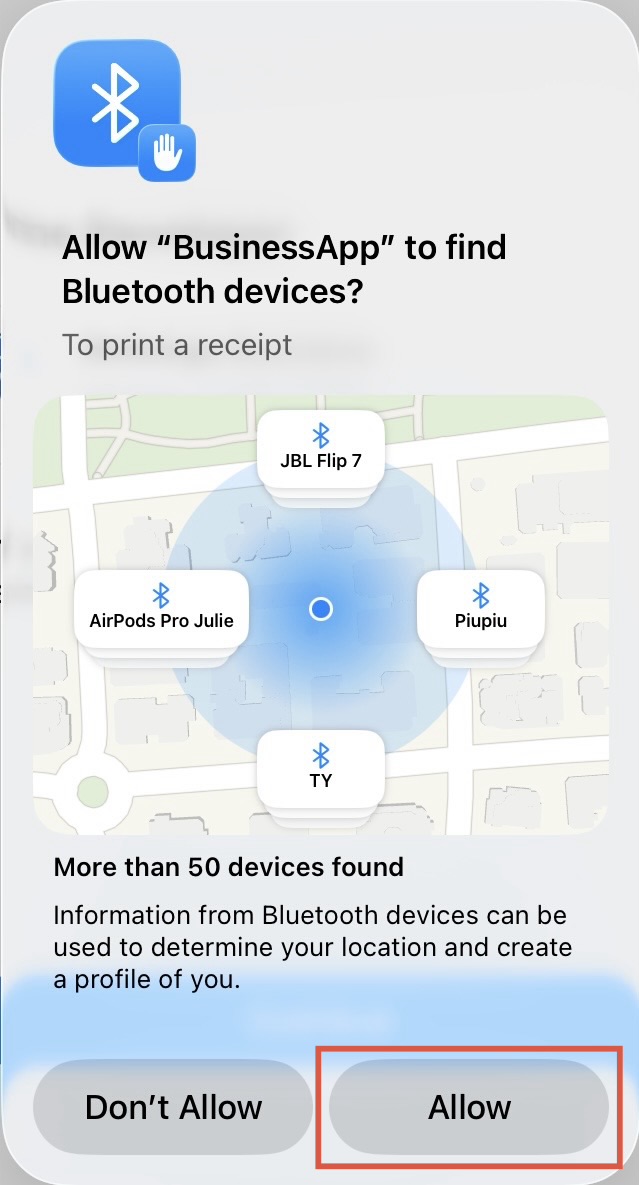
Allow the app to find Bluetooth devices.
Go to the Settings section.
Select Local Printers.
Step 2. Local Printers screen
On the Local Printers screen, the following items are displayed:
Automatic print a receipt toggle;
Parallel printing toggle (multiple printers);
a list of already added printers (if any) with Edit and Delete buttons, and an Enable/Disable toggle, which is useful if a printer is temporarily not in use;
the Add printer button is used to add a new device.
Tap Add printer.

Step 3. Main printer settings
The Add local printer screen will open.
Fill in the main fields:

Printer name — any convenient name (for example, Kitchen printer);
Select the printer language — By Default or your preferred language;
Select the recommended printer encoding:
CP850 — latin (if receipts are printed only in Latin);
CP862 — cyrillic (recommended for the Russian language);
CP864 — arabic language;
CP1255 — hebrew.
NOTE: if the text on the receipt is displayed incorrectly (for example, as ??? or unreadable characters), return to the printer settings, change the encoding, and print a test receipt.
Choose the printer encoding code —
36.
The encoding code is an internal numeric identifier that tells the printer which character table to use for the selected encoding.
value 36 corresponds to the Cyrillic character table and works correctly with the CP862 encoding;
with an incorrect encoding code, the text on the receipt may be displayed as ??? or distorted characters;
in most cases, it is recommended to leave the value 36 unchanged.
WARNING: Change the encoding code only if the printer manufacturer explicitly specifies a different value.
Important: the “Encoding code” parameter is used and taken into account only when the Text based driver is selected.
when using the Canvas driver, the app manages encoding and formatting automatically, so the encoding code does not affect printing;
when using the Text based driver, the encoding code directly affects how characters are displayed on the receipt.
Paper size — select according to your printer model. Two options are available: 58mm and 80mm. In most cases, 80mm is used.
Printer driver — select the driver type: Canvas or Text based.
Canvas — the recommended default driver.
Used for most modern receipt printers;
Supports correct receipt formatting (margins, line breaks, alignment);
Works reliably with Cyrillic and different encodings.
Text based — a simplified printing mode.
Prints the receipt as plain text without additional formatting;
Can be used for older or non-standard printers;
- There may be issues with alignment and the overall appearance of the receipt.
- Recommendation: in most cases, choose Canvas. Use Text based only if printing via Canvas does not work correctly.
- Print delivery receipt toggle. Enable this option to print the delivery receipt on the selected printer.
- Print kitchen receipt toggle. Enable this option to print the kitchen receipt on the selected printer. Here, you can also choose to print a single receipt for all products or separate receipts for a specific Production Line.
- Print gift receipt toggle. Enable this option to print the gift receipt on the selected printer.
Additional: Legacy Mode (Android only)
This parameter is available only on Android devices and affects how the app interacts with the printer driver.
Rules for configuring Legacy Mode:
For Citizen and Star printers — Legacy Mode must be disabled;
For all other printer models — Legacy Mode must be enabled.

WARNING:
When changing the Legacy Mode state, the app restarts automatically,
after which you will need to select and add the printer again in the settings.
Step 4. Choosing the connection method
In the Connection method field, tap the current value.
The selection will open:
Auto (Bluetooth/USB) — for Bluetooth printers;
Manual (IP Address) — for Wi‑Fi printers.

4. Bluetooth printer setup
4.1. Preparing the Bluetooth printer
Turn on the printer.
Make sure it is in Bluetooth discovery mode.
Open the system Bluetooth settings on the device.
Connect the printer to the device.
WARNING: Bluetooth connection is performed at the operating system level, not in the app. If the device requires a PIN code, try 0000 or 1234 — these are standard values.
4.2. Adding a Bluetooth printer in the app
In the Connection Method step, select Auto (Bluetooth/USB).
Tap Find new printer and wait for the search to complete.
Tap Choose Printer.
Select the printer from the list of found devices.
Enable the required receipt types:
Print delivery receipt (optional);
Print kitchen receipt (optional);
Print gift receipt (optional).
Tap Add.
WARNING: Only one Bluetooth printer can be connected to a single mobile device.
5. Wi-Fi printer setup
5.1. Preparation and requirements
The printer and the mobile device must be connected to the same Wi-Fi network;
Each Wi-Fi printer must have a unique IP address;
If IP addresses match, only one printer will print.
5.2. Getting the printer IP address
Use one of the following methods:
Method 1. Printing the network configuration
Turn off the printer;
Press and hold the Feed button;
Turn on the printer — a page with the IP address will be printed.
Method 2. Via the router
Open the list of DHCP clients;
Find the printer and its IP address.
Method 3. Via the printer’s temporary Wi-Fi network
Connect to the printer’s Wi-Fi network;
Open the address specified in the printer instructions or on the test receipt in a browser
(most often this is 10.10.100.254 or 192.168.10.1);Go to the network settings (STA / Wi-Fi / Network Settings);
Specify the main depot Wi-Fi network and password;
Save the settings and restart the printer.
Important:
IP address used to open this page (for example, 10.10.100.254), — is a temporary service IP of the printer.
It is used only for setup and is not suitable for connecting the printer in the app.
After connecting to the main Wi-Fi network, the printer receives a new IP address from the router, and this is the address that must be used in the app.
Where to get the IP address for the app:
After connecting the printer to the main network, the IP address can be obtained:
on the test receipt (Self-test / Status print);
in the STA Status / Network Status section of the printer’s web interface;
in the router settings (list of connected devices).
5.3. Work Mode setup (printer operating mode)
In the printer network settings, you need to check the Work Mode (Wi-Fi operating mode) parameter.
Recommended value:
AP + STA mode (or APSTA)
What this means:
STA (Station) — the printer connects to the main depot Wi-Fi network and receives an IP address;
AP (Access Point) — the printer can create its own Wi-Fi access point for service access.
AP + STA mode allows:
the printer to be accessible on the depot local network (which is required for working with DelivApp Business);
connect to the printer directly for diagnostics and configuration when needed.

Recommendation: To work with Delivapp Business, it is sufficient for the printer to be connected to the network in STA mode. However, we recommend using AP + STA, as this simplifies further printer maintenance.
Important: It is not required to configure the AP Settings section separately if the printer is already correctly connected to the Wi-Fi network and has an IP address.
5.4. Assigning a new IP address (required when using multiple printers)

In the printer web interface:
Go to STA Setting.
Disable Obtain an IP address automatically.
Specify a unique IP address (for example, 10.0.0.23).
Specify:
Subnet Mask — usually
255.255.255.0;Gateway — the router IP address in this network (for example, 10.0.0.138);
DNS — the router IP address (10.0.0.1) or a public DNS, for example 8.8.8.8.
Tap Save.
5.5. Adding a Wi-Fi printer in DelivApp Business
In the Connection Method step, select Manual (IP address).
In the IP address field, enter the printer IP address.
Port — 9100 (by default).
Make sure that the remaining parameters are set correctly:
Language — By Default;
Encoding —
CP862;Encoding Code —
36;Paper Size —
80mm;Driver —
Canvas.
Or set the appropriate parameters according to your printer.
Enable the required receipt types.
Print delivery receipt (optional);
Print kitchen receipt (optional);
Print gift receipt (optional).
Tap Add.
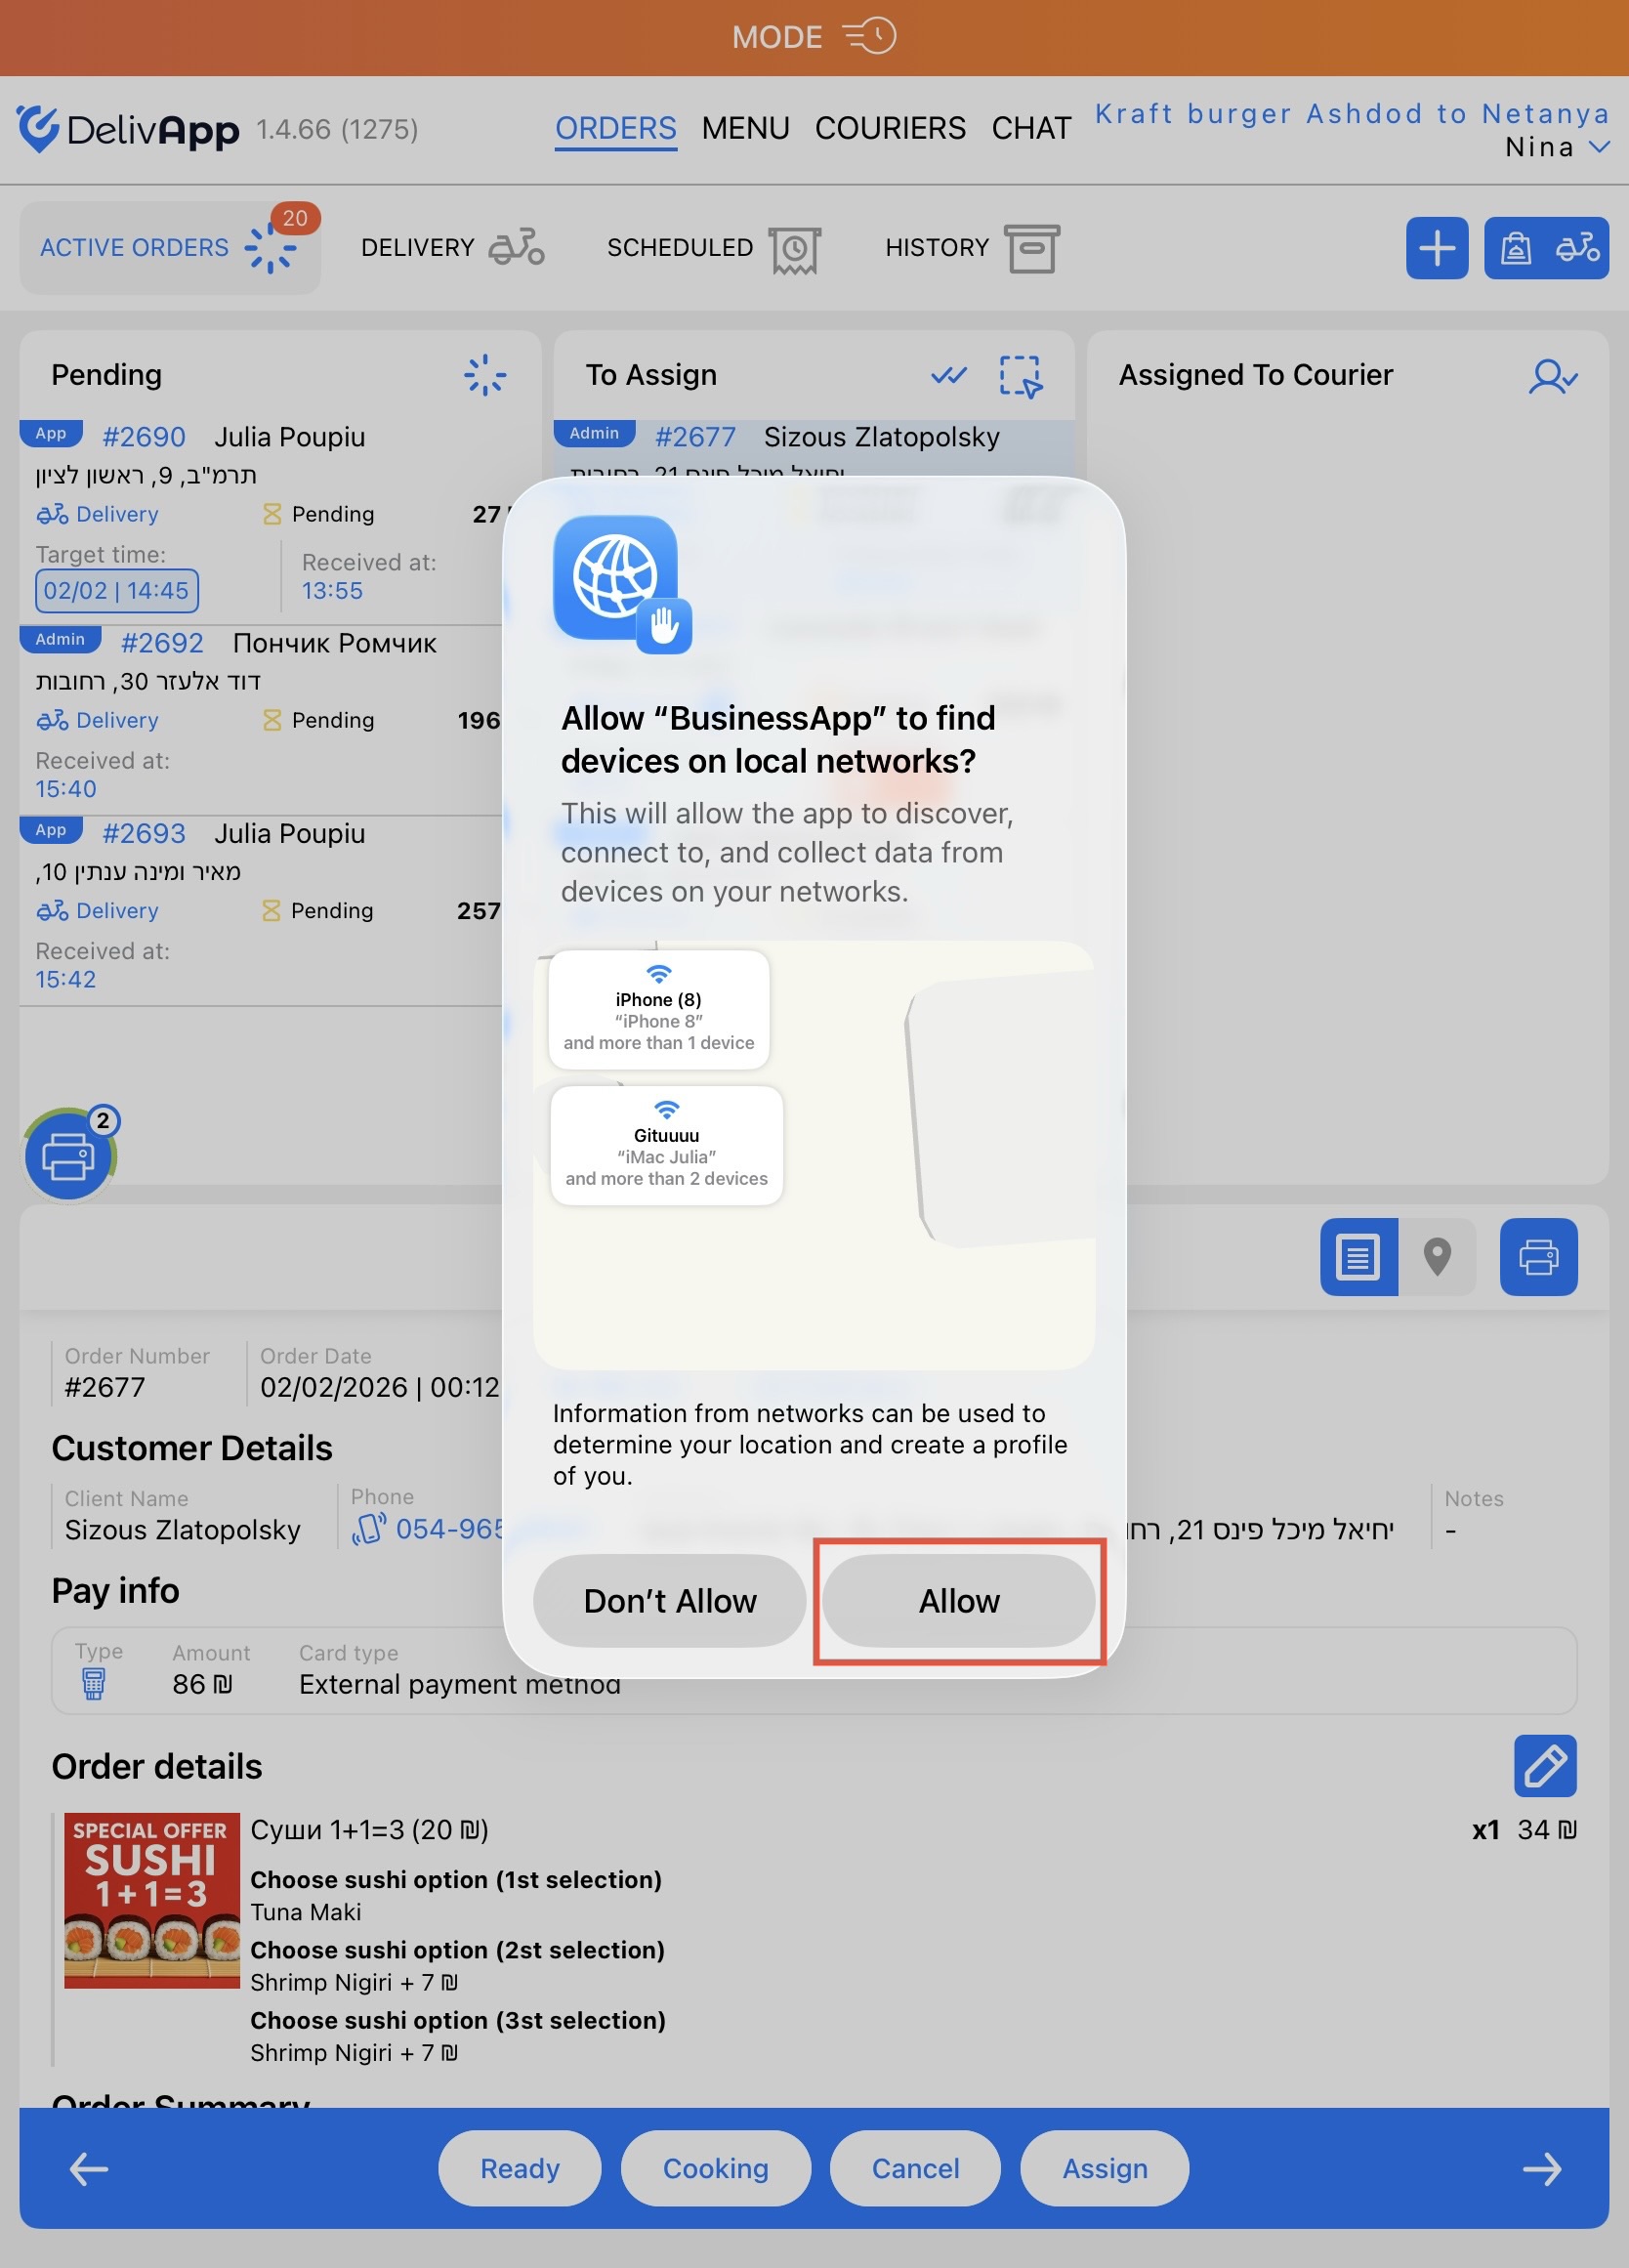
IMPORTANT: after the first tap on the “Print” button, you will see a modal window where you need to allow the app to find devices on local networks.

5.6. Production lines
In the Production Line field, select the line whose receipts the printer should print.
Below is a description of how to add a Production Line to a product in the Menu and the Parent Menu.
ПРИМЕЧАНИЕ: Можно распределить разные принтеры, например, на кухню, бар и пиццу.
To add a Production Line for a product from the Menu, you need to log in to the portal as a Global Manager, then:
- Click Settings — Depot Settings.
- Click Edit depot.
- In the left menu, click Marketplace listing — Menu.
- Select the required Category.
- Click Edit product.
- In the Production Line field, select an item from the existing ones or add a new one.

To add a Production Line for a product from the Parent Menu, you need to log in to the portal as a Global Manager, then:
- Click Settings — Depot Settings.
- Click Edit depot.
- In the left menu, click Marketplace listing — Parent Menu.
- Click Edit product.
- In the Production Line field, select an item from the existing ones or add a new one.

6. Result check
Make sure that the printer is active.
Create a test order.
Check:
receipt printing;
correct language;
category matching.
7. Frequently Asked Questions (FAQ)
Why does only one Wi-Fi printer print?
— The printers have the same IP address.
Can Bluetooth and Wi-Fi be used together?
— Yes, but only one Bluetooth printer can be used.
Why is the printer not printing?
— Check the network, IP address, port 9100, and printer status.
Is it possible to cancel an already started print job?
— Yes. To do this, tap the printer icon and then tap the “Cancel all prints” button. It is not possible to cancel a single receipt from the queue.
What happens if the printer is disconnected from power or the Wi-Fi network?
— In this case, the print queue will wait until the printer returns to an active state.
8. Conclusion
Now you can:
use a Bluetooth printer for a simple setup;
configure multiple Wi-Fi printers for complex workflows;
flexibly distribute receipt printing.
This ensures stable and scalable operation of DelivApp Business.
Was this article helpful?
That’s Great!
Thank you for your feedback
Sorry! We couldn't be helpful
Thank you for your feedback
Feedback sent
We appreciate your effort and will try to fix the article