TABLE OF CONTENTS
- 1. Overview
- 2. Requirements and preparation
- 3. Detailed step-by-step setup
- 4. Final checklist
- 5. FAQ
- 6. Conclusion
1. Overview
The Gift Cards feature in the marketplace allows users to purchase electronic gift certificates and send them to friends, colleagues, or family members. After purchase, the user can send the gift by e‑mail, and the recipient can accept it and have the value credited to their bonus wallet in the app.
This guide describes, step by step, how to configure the section, create gift cards, verify that everything works correctly, and how the end‑user sending/receiving flow works.
2. Requirements and preparation
Before you start, make sure you have:
Access to the marketplace admin panel with administrator/manager permissions.
Prepared images for the main banner and for individual gift cards.
Contact details (e‑mail and phone) that will be shown to customers.
Prepared copy: gift card names, descriptions, and prices.
A well‑thought‑out communication strategy for the gift cards feature — push notifications, e‑mail campaigns, in‑app banners, and social media posts — to inform customers about the new option.
3. Detailed step-by-step setup
3.1. Navigate to Gift Cards
In the top menu, open Marketplace.
Go to Loyalty.
Select Gift Cards.

3.2. Configure the Gift Cards main page
The page includes the following settings:
Main image — upload the banner that will be displayed in the app.
Most file types are supported.
Maximum file size: 10 MB.
Recommended ratio: 5×3 (width×height).
The Crop, Gravity, Quality mode, and Quality fields let you fine‑tune how the image is displayed.
Enabled toggle — turns Gift Cards availability in the app on/off.
Email and Phone — contact details shown to buyers.
City, Street — business‑related address information.
QR-Code and Link:
The QR code automatically opens the Gift Cards page.
You can copy the link and use it in social posts, campaigns, or on your website — it also opens the Gift Cards page.

TIP: Place the QR code on printed materials or inside your venue — it’s a quick way to bring users directly to the Gift Cards purchase screen.
3.3. Create a new Gift Card
Click Add.
The gift card creation form opens.

Fill in the following fields:
Gift card image — visible to users.
Most file types are supported.
Maximum file size: 10 MB.
Recommended ratio: 5×3 (width×height).
Status — enable it if the card should already appear in the list.
Product name — for example:
500 NIS Gift Card.Price — the amount the buyer pays and the same amount the recipient receives.
Price before discount — shown as a red strikethrough price.
SKU — optional, for internal tracking.
Maximum units per order — a limit defining how many gift cards of this denomination a user can purchase in a single order.
0— no limit.
Description — text that will be displayed in the app.
When finished, click Save — the card will appear in the main list.
PRO TIP: Use different images for different denominations — it makes the options easier to scan visually.
3.4. Verify Gift Cards in the app
After creating the cards, check how they look from the customer side.
Open the page via the QR code or the link.
The Gift Cards section opens.
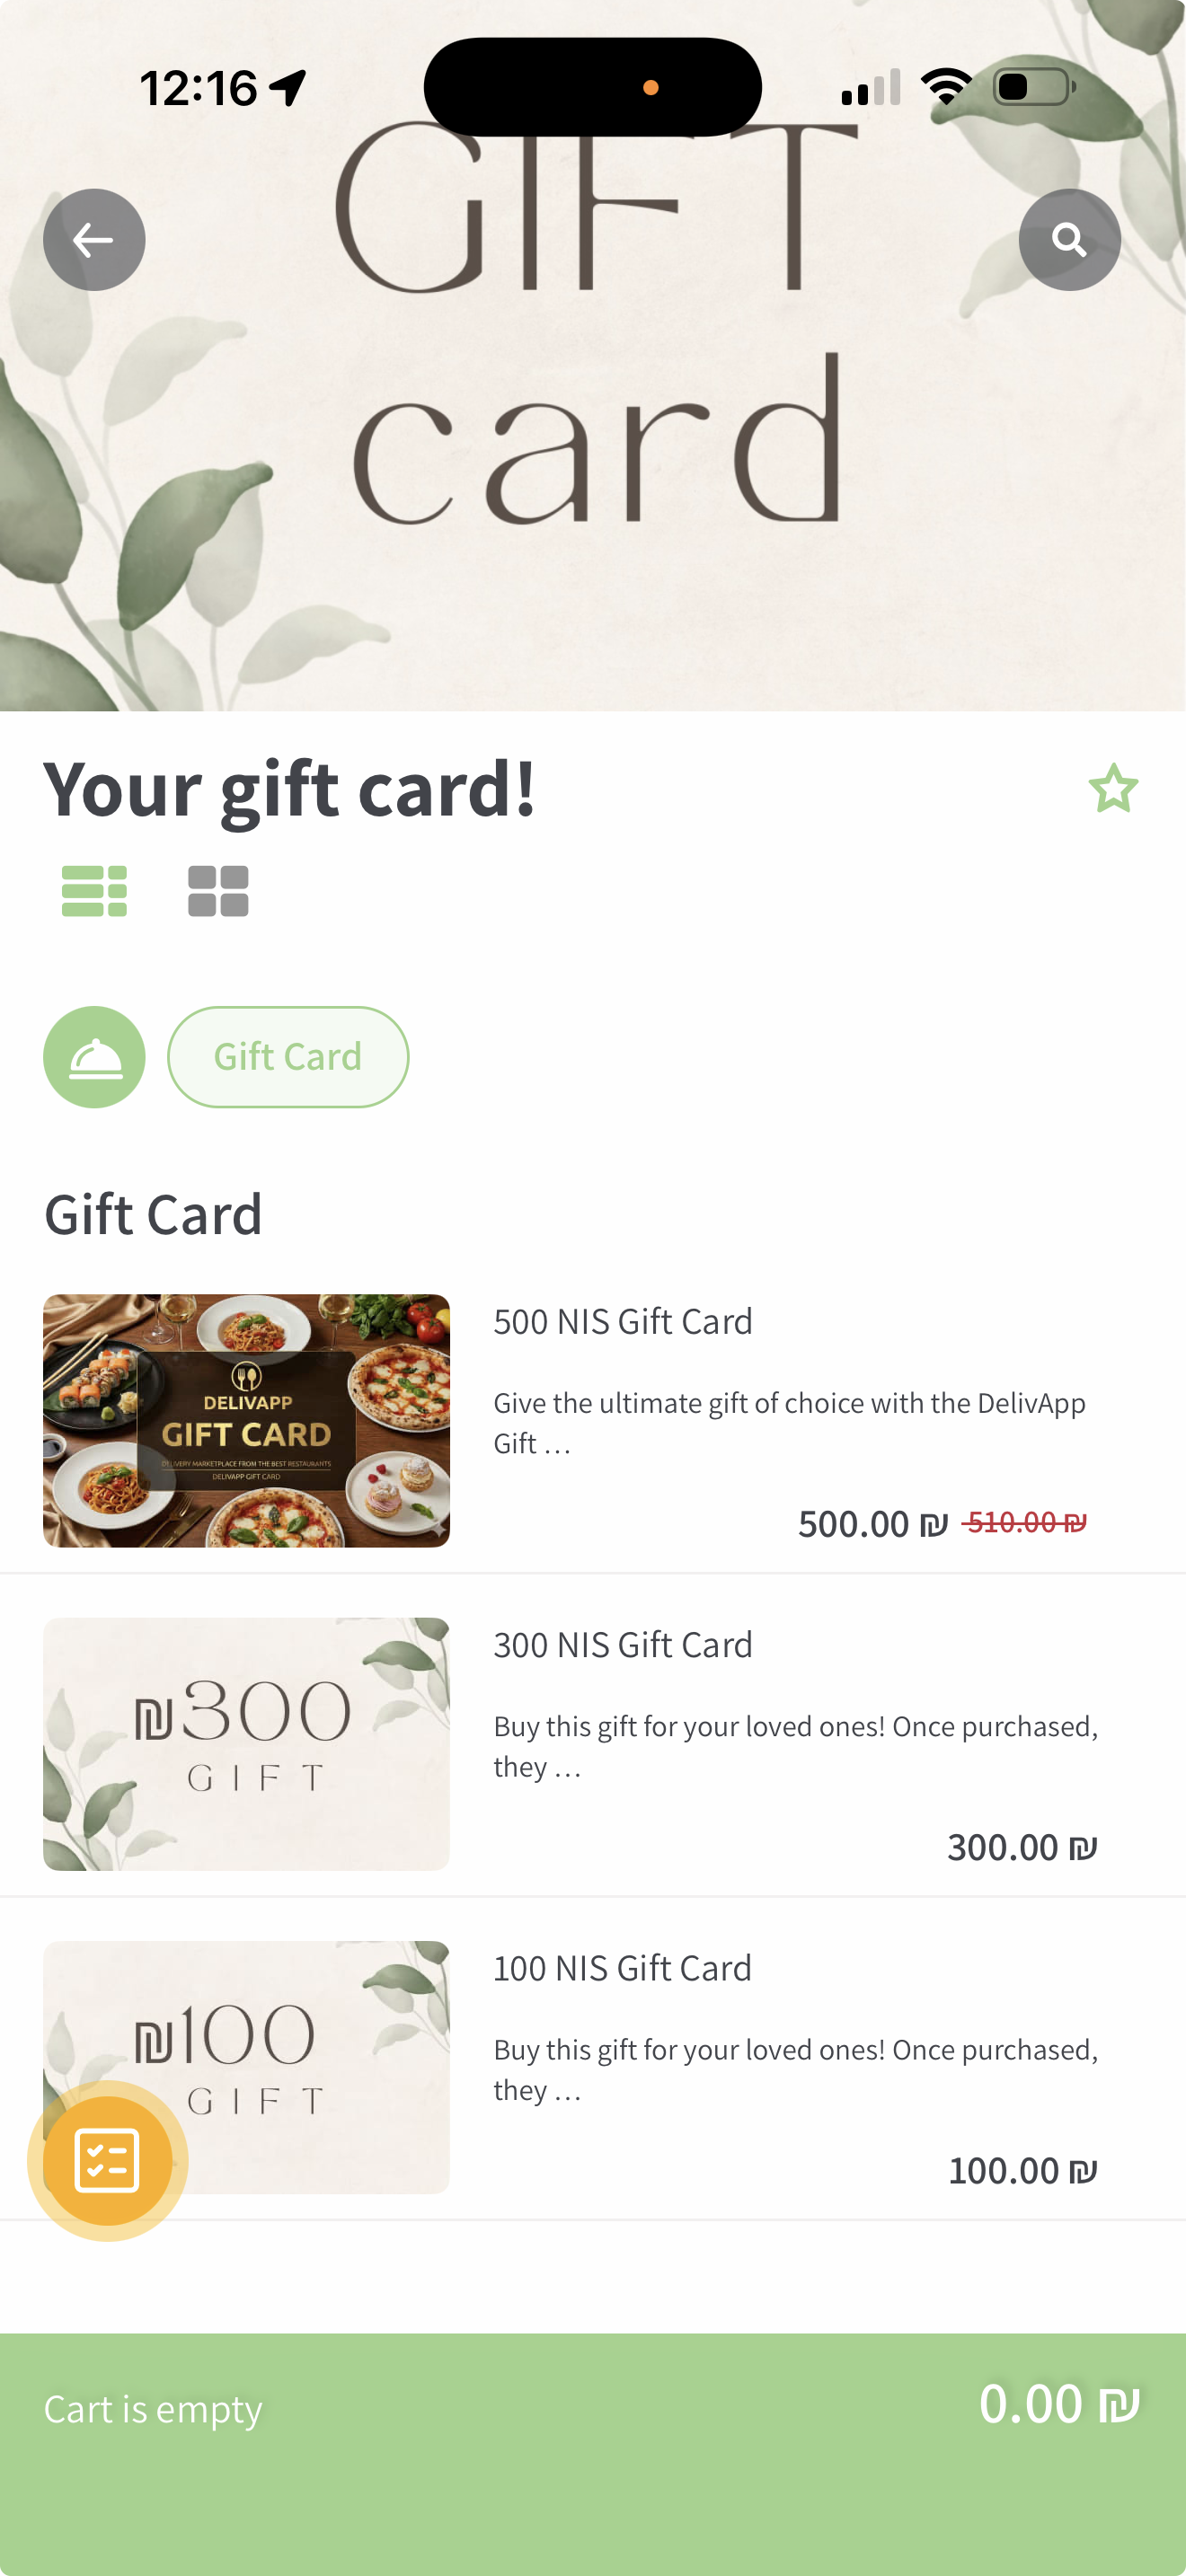
Verify:
Product names.
Images.
Prices and crossed‑out old prices.
Descriptions.
3.5. How a user buys a Gift Card
The user selects a card and clicks Add.
The user proceeds to Checkout.

Key fields:
Delivery Method — Via e‑mail — the recipient’s e‑mail address must be entered here.
Payment Method — the user selects a payment method.
Promocode — a promo code can be applied if allowed by the rules.
After payment, a confirmation screen appears.

The buyer can:
Copy the link.
Share the gift in any convenient way.
3.6. What the recipient gets
The recipient receives an e‑mail.
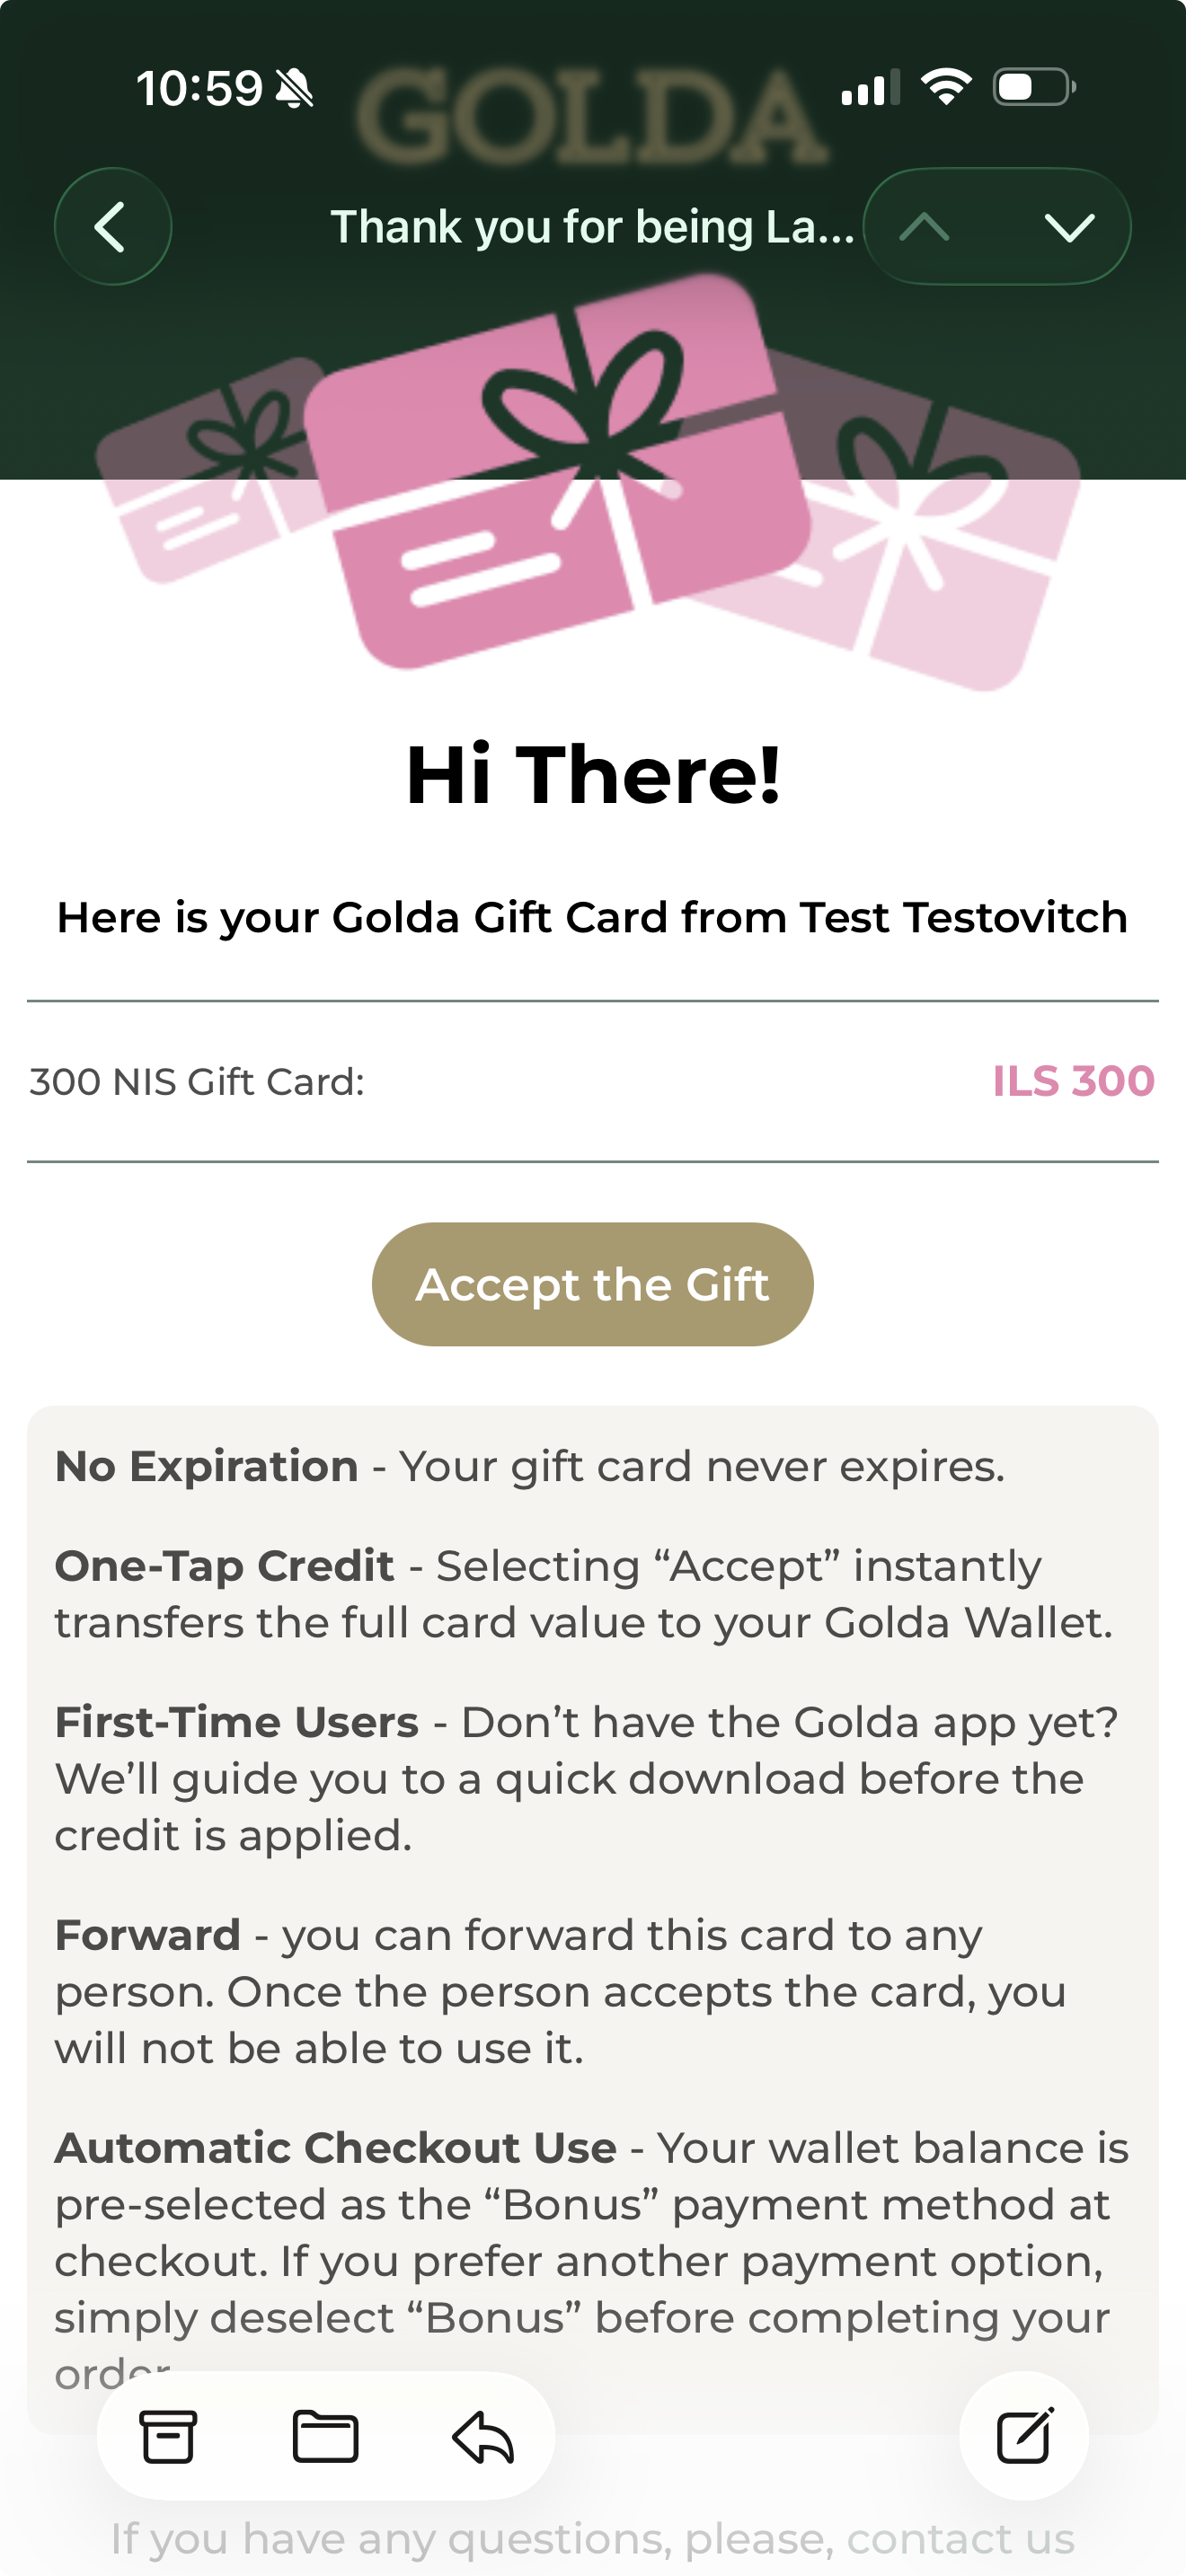
After the recipient clicks Accept:
The gift acceptance screen opens.

The amount is credited to the user’s wallet.

Funds are credited to the wallet as bonus balance.
3.7. Alternative path: purchase via Wallet
Users can also buy a gift card from their profile:
Go to Profile → Wallet.
Tap Buy new Gift Card.
The list of available gift cards opens.

4. Final checklist
To confirm everything is configured correctly:
Open the QR/link and make sure the section loads.
Check the gift cards list:
Only active cards are displayed.
Prices and discounts are correct.
Images are correct.
Purchase a test card using a test e‑mail.
Verify the e‑mail — it should arrive immediately.
Accept the gift and confirm the balance appears in the wallet.
IMPORTANT: If the e‑mail does not arrive, double‑check the recipient e‑mail address and the Spam/Junk folder.
Note: The e‑mail template can be customized to match your brand (as in our example). For details, contact Support.
5. FAQ
1. The card doesn’t show up for customers — what should I do?
Check:
The card’s Status is enabled.
The main page Enabled toggle for Gift Cards is turned on.
2. Why do I need “Price before discount”?
It is shown as a red strikethrough price and highlights the promotional offer.
3. Can I limit how many cards can be purchased in one order?
Yes. Set the value in Maximum units per order.
4. What if the buyer entered the wrong recipient e‑mail?
The buyer can:
Copy the link from order history.
Send the link manually to the recipient.
5. Can gift cards be used to pay for delivery?
Yes — funds are credited to the user’s wallet and can be used like a regular bonus balance.
6. Can I temporarily hide Gift Cards?
Yes — turn off the Enabled toggle on the Gift Cards main page.
6. Conclusion
You can now fully configure the Gift Cards system: the main banner, individual cards, how they display, and the sending/receiving flow. This feature helps increase customer loyalty and drive additional sales.
If you have non‑standard questions or need advanced configuration, contact Support via the admin panel.
Was this article helpful?
That’s Great!
Thank you for your feedback
Sorry! We couldn't be helpful
Thank you for your feedback
Feedback sent
We appreciate your effort and will try to fix the article